

Living Teal
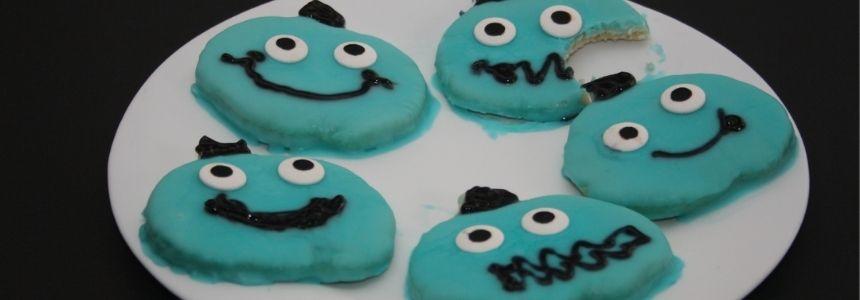
Feasting With FARE: Top 10 Free Halloween Cookies
This sugar cookie recipe by Lori Dziuba tastes like the real deal and is safe from the top 10 food allergens. The dough is easy to work with so you can roll it out and cut it into whatever shapes you want!

I call the frosting recipe my “ridiculously easy frosting”. When it is mixed together, it acts just like royal icing. Whether you pipe it or spread it, the icing is easy to color and will harden on the cookies, allowing your creativity to shine.
Ingredients
Cookie
- 2 1/2 cups all purpose gluten free flour mix* (click here for options)
- 1 teaspoon baking powder
- 1 tablespoon guar gum*
- 1 cup white sugar
- 1/2 cup palm shortening or vegan margarine
- 1/3 cup non dairy milk (click here for options)
- 1 teaspoon vanilla extract
*I create my own blend of gluten free flour mix. If your blend already contains guar gum or xanthan gum, reduce the amount to 2 teaspoons.
Frosting
- 2 cups confectioners sugar
- 2 tablespoons water
Instructions
- Preheat oven to 325 F; line two baking sheets with parchment paper.
- In a large mixing bowl, cream the shortening (or vegan margarine) and sugar together, add vanilla extract, set aside.
- In a separate mixing bowl, add the gluten free flour mix, baking powder and guar gum, whisk to thoroughly combine.
- Add the dry ingredient to the shortening/sugar mix. add the non dairy milk.
- Mix dough until all the dry ingredients are incorporated.
- Divide the dough into two equal parts to make it easy to work with.
- Roll dough out to 1/4″ thickness between two sheets of parchment paper.
- Cut out dough into desired shapes, transfer cookies to prepared cookie sheet.
- Bake 7-11 minutes. Leave on cookie sheet for 10 minutes to firm up, then transfer to cooling rack to cool the remainder of the way.
- Allow to cool completely before frosting.
Frosting
- Add confectioners sugar to a medium sized bowl.
- Add water a little bit at a time until a smooth, slightly thick constancy is reached. More water can be added to thin out if needed.
- Add gel food dye to the icing to create any desired color.
- This icing can be piped or spread to decorate the cookies and hardens just like royal icing.
More Recipes
Feasting With FARE: Lollipop Cookies
Living Teal
Feasting with FARE: Chocolate Rice Crispy Bars
Living Teal
Feasting with FARE: Snow Globe Cookies
Living Teal